Every forex trader wants a profitable forex indicator. The idea sounds easy enough: add an indicator to the chart, wait for a clean signal, enter the trade and collect pips. After years of watching live candles print in fast and slow markets, one lesson becomes hard to ignore: the indicator itself is rarely the edge. The edge comes from how you read it, where you apply it, and how firmly you control risk when the trade does not behave as expected.
This guide explains what a profitable forex indicator really is, how to combine indicators with price action, which mistakes to avoid, and how to build a practical trading checklist around your tools without turning the chart into a confusing dashboard.
🧭 What Is a Profitable Forex Indicator?
A profitable forex indicator is not simply an indicator that produces winning trades. It is an analytical tool that helps a trader make repeatable decisions with positive long-term expectancy. In practical trading terms, it should help you find better entries, avoid weak setups, manage open positions more clearly, or filter market conditions before capital is at risk.
The key point is simple: no indicator is profitable in isolation. Moving averages, RSI, MACD, Bollinger Bands, ATR, stochastic oscillators and volume-style tools can all be useful, but only when they sit inside a complete trading plan with defined entries, exits, stop loss placement and position sizing.
Professional note: The goal is not to find an indicator that wins every trade. The goal is to build a repeatable process that can make money over a large sample of trades after spreads, slippage, hesitation and losing streaks.
🚀 Designed for Traders Who Want an Institutional Edge


⚙️ The 5 Core Types of Forex Indicators
Most profitable trading systems use one or more of the following indicator categories. Understanding the role of each category helps you avoid chart clutter, duplicated signals and the kind of hesitation that appears when five tools are telling you almost the same thing in different ways.
📊 Trend Indicators
Trend indicators help identify market direction. Examples include moving averages, Ichimoku, Supertrend and ADX. They work best when price is directional and the market is building clear higher highs and higher lows, or lower highs and lower lows.
🎯 Momentum Indicators
Momentum indicators show whether price movement is strengthening or weakening. RSI, MACD and stochastic are popular examples, especially when a trader wants confirmation before entering after a pullback or near a key reaction zone.
📏 Volatility Indicators
Volatility indicators such as ATR and Bollinger Bands help measure market expansion, contraction and stop-loss distance. They are especially useful when deciding whether a stop is realistic or simply too tight for current price movement.
🧱 Support and Resistance Tools
Pivot points, VWAP-style levels, daily highs and lows, and session ranges can help traders locate important reaction zones. These tools are most useful when they support the same area that price action is already respecting.
⏱️ Timing Indicators
Signal-based tools help refine entries and exits. They should confirm a trade idea, not create one without context. A timing signal is strongest when trend, structure and risk already make sense.
🏆 Best Candidates for a Profitable Forex Indicator Setup
The best indicator depends on your trading style. Scalpers, day traders and swing traders need different tools because they operate in different market environments, use different stop distances and hold trades for very different lengths of time.
Indicator Comparison for Forex Traders
Use this table as a practical starting point when building your indicator-based trading strategy.
| Indicator | Best Use | Strength | Weakness | Trader Rating |
|---|---|---|---|---|
| Moving AverageEMA, SMA, 20/50/200 | Trend direction and dynamic support/resistance | Simple, visual and reliable in trending markets | Can lag during sharp reversals | ★★★★★ |
| RSIRelative Strength Index | Momentum, divergence and overbought/oversold conditions | Excellent for identifying exhaustion | Can remain extreme in strong trends | ★★★★☆ |
| MACDTrend and momentum | Momentum confirmation and trend shifts | Useful for confirmation | Signals can arrive late on lower timeframes | ★★★★☆ |
| ATRAverage True Range | Stop-loss placement and volatility filtering | Helps manage risk objectively | Does not provide direction | ★★★★★ |
| Bollinger BandsVolatility envelope | Breakouts, mean reversion and volatility expansion | Strong visual volatility tool | False breakouts are common | ★★★★☆ |
🧠 The Professional Formula: Indicator + Context + Risk
Many traders struggle because they ask the wrong question. Instead of asking, “Which indicator is profitable?”, ask: “In which market condition does this indicator perform best?” That shift alone changes how you read every signal on the chart.
A moving average crossover may work well in a strong trend but fail badly in a choppy range. RSI oversold signals may work near support but fail during aggressive bearish momentum. ATR can help you place better stops, but it will not tell you whether to buy or sell. Each tool has a job, and problems start when a trader expects one indicator to do everything.
The professional formula: A profitable forex indicator becomes useful when it confirms a high-probability market condition, supports a clear entry trigger, and fits a risk plan with a positive reward-to-risk profile.
📌 Strategy Idea 1: EMA Trend Pullback Strategy
This is one of the cleanest indicator-based strategies for forex traders because it uses trend, pullback and confirmation. It also keeps decision-making fairly simple, which is valuable when price is moving quickly.
Setup Rules
- Use the 50 EMA and 200 EMA to define the trend.
- Only look for buy setups when price is above both moving averages.
- Only look for sell setups when price is below both moving averages.
- Wait for price to pull back toward the 50 EMA.
- Enter only after bullish or bearish confirmation, such as a rejection candle or a break of minor structure.
- Place the stop loss beyond the pullback swing.
- Target at least 1.5R to 2R, or trail behind structure when the trend continues.
Warning: Do not trade every EMA touch blindly. The best pullbacks happen in clean trends with higher highs and higher lows, or lower highs and lower lows. Avoid messy sideways markets where the moving averages flatten and price cuts through them repeatedly.
⚡ Strategy Idea 2: RSI Divergence Reversal Setup
RSI divergence is popular because it can reveal weakening momentum before price reverses. But divergence alone is not enough. It should appear at a meaningful level such as support, resistance, a session high, a session low or a major round number, and it should be confirmed by a shift in short-term structure.
✅ Bullish Divergence
Price makes a lower low, but RSI makes a higher low. This can suggest bearish momentum is weakening. A trader may wait for a break of a minor resistance level before entering long, rather than trying to catch the exact bottom.
✅ Bearish Divergence
Price makes a higher high, but RSI makes a lower high. This can suggest bullish momentum is fading. A trader may wait for a break of minor support before entering short, especially if price has already rejected a known resistance area.
🛡️ Strategy Idea 3: ATR-Based Stop-Loss System
The ATR is one of the most underrated tools for serious traders. It does not predict direction, but it helps answer one of the most important questions before a trade is placed: “How much room does this trade need to breathe?”
For example, if EUR/USD has an ATR of 20 pips on your chosen timeframe, placing a 5-pip stop may be too tight. Normal market noise could stop you out before the trade idea has enough time to develop, even when the directional read is correct.
| ATR Use Case | Practical Application | Benefit |
|---|---|---|
| Stop-loss placement | Use 1x to 2x ATR beyond structure | Reduces random stop-outs |
| Trade filtering | Avoid trades when volatility is extremely low | Helps avoid dead markets |
| Profit targets | Use ATR to estimate realistic intraday movement | Prevents unrealistic targets |
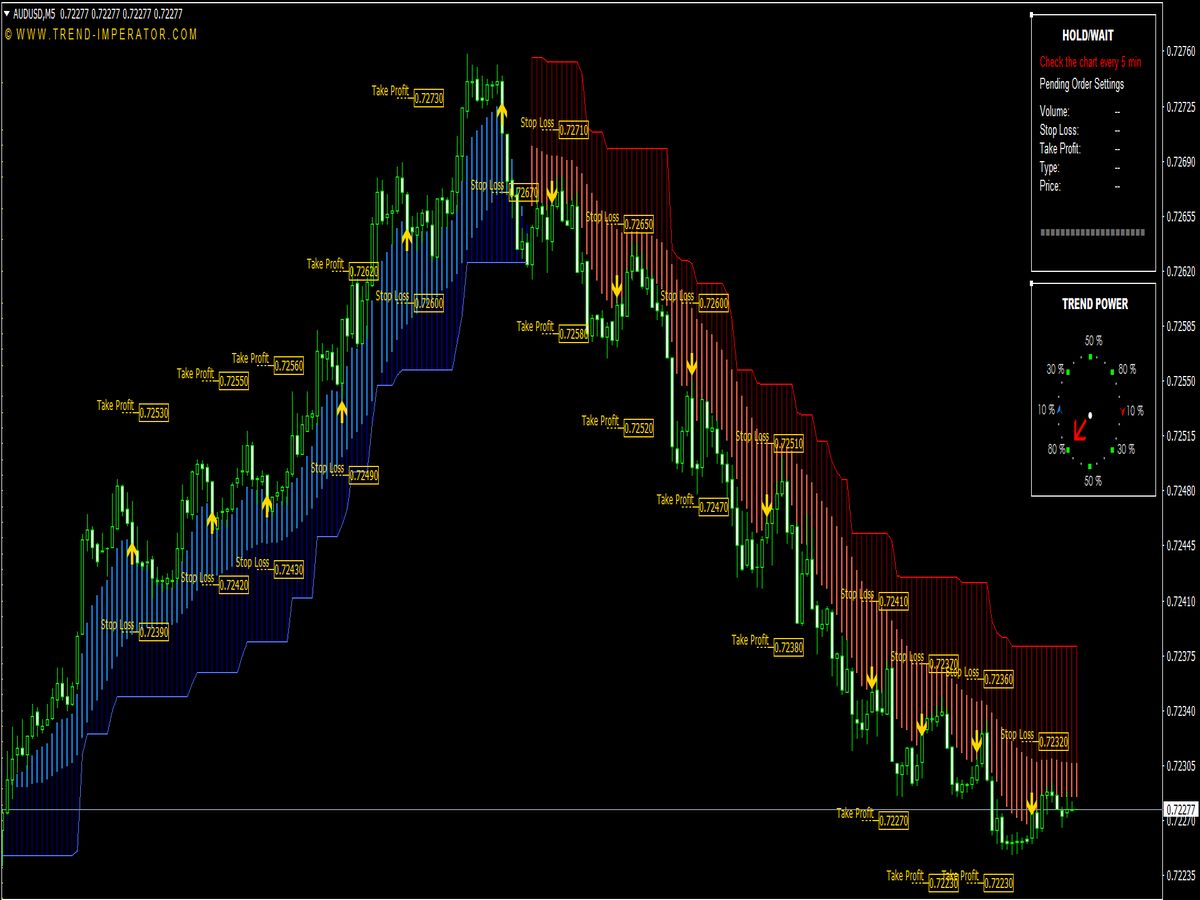
⚡ Premium Non-Lagging Indicators for MT4 and MT5
🧩 How to Combine Indicators Without Overloading Your Chart
One of the biggest mistakes beginners make is adding too many indicators that all say almost the same thing. For example, RSI, stochastic and CCI are all momentum-style oscillators. Using all three together often creates more confusion than clarity because they tend to react to similar price behavior.
Simple rule: Use one indicator for trend, one for momentum, and one for risk or volatility. Anything beyond that must have a clear purpose and should make the decision process cleaner, not heavier.
1️⃣ Trend Filter
Example: 50 EMA, 200 EMA, Ichimoku or ADX.
2️⃣ Entry Confirmation
Example: RSI, MACD, candle pattern or structure break.
3️⃣ Risk Tool
Example: ATR, swing high/low, session range or volatility band.
✅ Profitable Forex Indicator Checklist
Before trusting any indicator, run it through this professional checklist. A tool that looks impressive on a perfect example chart still has to survive live spreads, missed entries, losing streaks and your own execution habits.
- Does the indicator match my trading style: scalping, day trading or swing trading?
- Does it work better in trends, ranges or high-volatility conditions?
- Have I backtested it over at least 100 trades?
- Have I tested it across different currency pairs?
- Does it still work after spreads and slippage?
- Do I know exactly where to enter, place the stop and take profit?
- Can I follow the rules without emotional decisions?
- Does the system have a realistic drawdown profile?
🚫 Common Mistakes When Searching for a Profitable Indicator
Most traders do not lose because they choose the wrong indicator. They lose because they use indicators without discipline, context and risk control. A weak process can turn even a good tool into a source of random entries.
❌ Mistake 1: Chasing Perfect Signals
No indicator can remove uncertainty. Waiting for a perfect signal often leads to hesitation, late entries or missed trades.
❌ Mistake 2: Ignoring Market Structure
An indicator signal against a major support, resistance or trend level is often lower quality.
❌ Mistake 3: Over-Optimizing Settings
Changing settings until the past looks perfect can create a strategy that fails in live conditions.
❌ Mistake 4: Risking Too Much
Even a strong strategy can collapse if position size is too aggressive during a losing streak.
📉 Backtesting: The Real Test of a Forex Indicator
Backtesting is where opinions become numbers. Before using an indicator with real capital, test it across different pairs, market conditions and timeframes. Record every trade as if it were live, including the entry reason, stop loss, take profit, result and any rule violations.
| Metric | Why It Matters | Professional Target |
|---|---|---|
| Win rate | Shows how often the strategy wins | Must be judged with reward-to-risk |
| Average R multiple | Measures average profit or loss per trade | Positive over a large sample |
| Maximum drawdown | Shows the worst losing period | Low enough to trade emotionally |
| Profit factor | Compares gross profit to gross loss | Above 1.2 is a starting point |
| Trade frequency | Shows how many opportunities appear | Enough trades without overtrading |
💡 Practical Trading Tips From Experience
- Trade less, filter more. The best trades usually need fewer explanations.
- Respect sessions. Focus on the periods where your chosen pair normally offers cleaner movement and enough liquidity for your strategy.
- Watch the higher timeframe. A 15-minute signal is stronger when it agrees with the 1-hour or 4-hour trend.
- Avoid chaotic volatility spikes. Indicators can behave poorly when price expands suddenly beyond normal rhythm and spreads widen.
- Journal every trade. Your trading journal is more valuable than any indicator setting.
- Protect your capital. A trader who survives long enough can improve. A trader who over-risks may not get that chance.
🧪 Example: A Simple Indicator-Based Trading Plan
Here is a clean example of how a trader might build a complete plan around indicators without overcomplicating the chart. Notice that every tool has a specific job: one for direction, one for timing and one for risk.
Sample Forex Indicator Plan
This is an educational framework, not financial advice or a guaranteed trading system.
| Component | Rule | Purpose |
|---|---|---|
| MarketMajor forex pairs | EUR/USD, GBP/USD, USD/JPY | Focus on liquid instruments |
| TimeframeDay trading | 15-minute entries with 1-hour trend filter | Align lower and higher timeframe |
| Trend50 EMA and 200 EMA | Buy only above both, sell only below both | Avoid trading against the main direction |
| EntryPullback confirmation | Wait for rejection candle near 50 EMA | Enter after price shows reaction |
| RiskATR and structure | Stop beyond swing plus volatility buffer | Reduce random stop-outs |
| ExitReward-to-risk | Target 1.5R to 2R or trail structure | Maintain positive expectancy |
📝 Notes for Beginner and Intermediate Traders
For beginners: Start with one market, one timeframe and one strategy. Master execution before adding complexity.
For intermediate traders: Your next improvement usually comes from better trade selection, cleaner journaling and reducing emotional mistakes, not from adding another indicator.
Risk reminder: Forex trading involves significant risk. Use demo testing, small position sizes and strict risk limits before trading any strategy with real money.
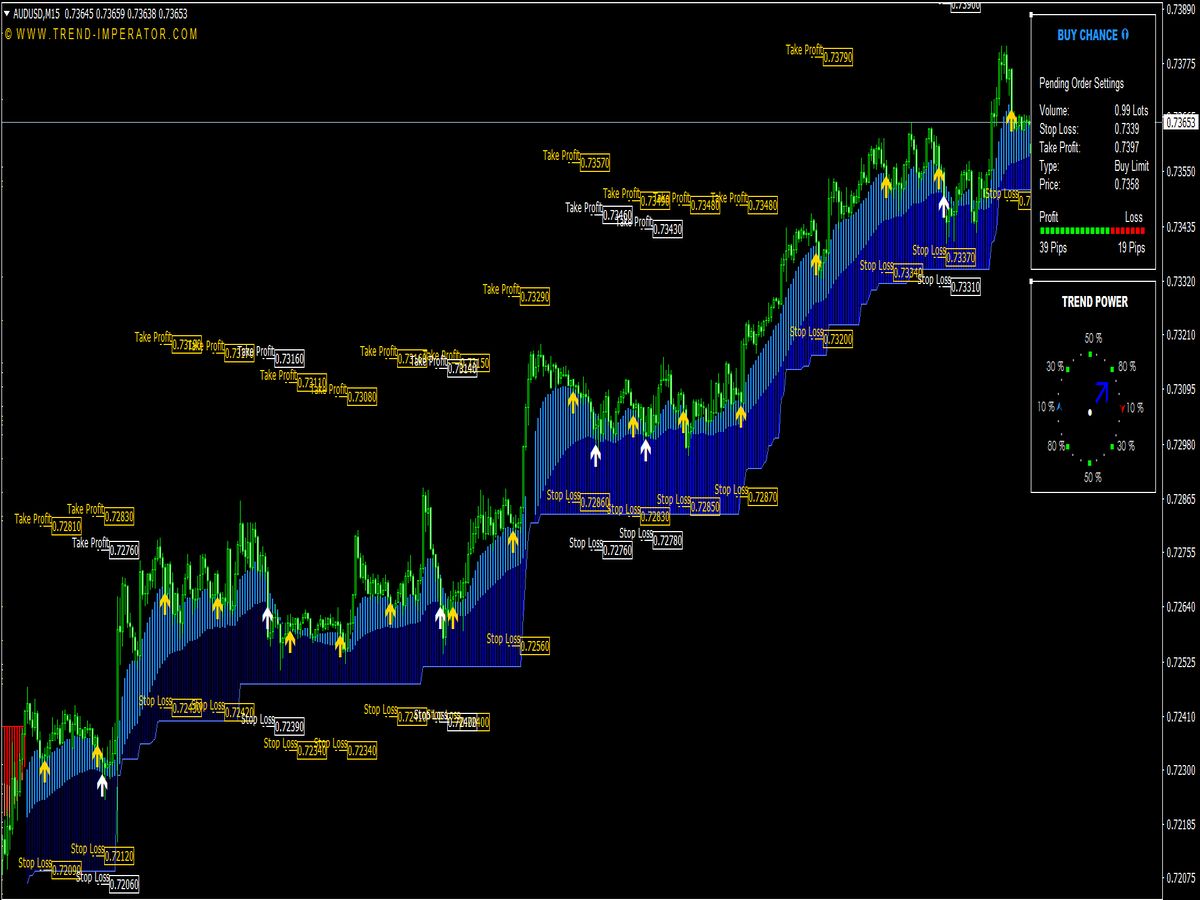
⚡ Professional FX Indicators That Give You the Trading Edge
❓ FAQ: Profitable Forex Indicator
What is the most profitable forex indicator?
There is no single most profitable indicator for all traders. Moving averages, RSI, MACD and ATR can all be effective when used with market context and risk management.
Can indicators make you profitable?
Indicators can help, but they do not create profit by themselves. Profitability comes from strategy, discipline, risk control and consistent execution.
Are paid forex indicators better?
Not always. Many free indicators are excellent. A paid indicator should be judged by transparent rules, realistic testing and live performance, not marketing claims.
Which indicator is best for beginners?
Moving averages and ATR are good starting points because they teach trend direction and volatility-based risk management.
How many indicators should I use?
Most traders should use two or three at most: one for trend, one for confirmation and one for volatility or risk.
Do indicators work on all currency pairs?
They can work across many pairs, but performance varies. Always test your strategy on the specific pair and timeframe you plan to trade.
🏁 Final Thoughts: The Real Secret Behind a Profitable Forex Indicator
A profitable forex indicator is not a shortcut. It is a tool. The trader is still responsible for reading market structure, choosing quality setups, controlling risk and following the plan through winning and losing streaks.
If you want to trade like a professional, stop searching for the perfect signal and start building a repeatable process. Choose simple indicators, test them honestly, combine them with price action, and measure your results over time. That is where real trading improvement begins.
Best practical starting point: Use a trend filter such as the 50/200 EMA, a momentum confirmation such as RSI or MACD, and a volatility tool such as ATR. Then build rules, backtest them, journal every trade and refine with discipline.
Disclaimer: This article is for educational purposes only and does not provide financial advice, investment advice or a recommendation to buy or sell any instrument. Trading forex and CFDs involves risk, and losses can exceed expectations if stop loss discipline, position sizing and risk limits are ignored. Always test any strategy in a demo environment before using real capital.
📌 More Free Indicators and Trading Systems for MT4 or MT5
- Top-Rated MetaTrader Indicators

- Mastering the SuperTrend…

- Momentum Smoothed Mladen Indicator

- Best Hedge Fund Indicator…

- Trend Following Indicator…

- Ianch Momentum Indicator

- Momentum Atr Histogram Indicator

- Momentum Custom Forces Indicator

- Momentum on Chart Signals Indicator

- Cumulative Momentum Line Indicator

- Swing Trading Indicator Setups…

- Momentum Scalper Indicator

- Color Zerolag Momentum Indicator

- Corrected Momentum Indicator

- Best Beginner Forex Indicators…

- Footprint Indicator: The…

- Macd Momentum Indicator

- Mastering RSI in Forex…

- Momentum Detecting Dash Indicator

- Rsx Momentum Version Indicator

- Inside the Stochastic…

- Premium Indicators for MT4 and MT5