Fair Value Gap (FVG) trading is a concept often used in smart money and institutional trading strategies, particularly within price action-based systems. Fair Value Gaps represent inefficiencies in the market where price has moved rapidly, leaving a “gap” that often attracts a return move to fill that inefficiency. These gaps are visible on candlestick charts and usually span from the high of one candle to the low of the next after a large impulse move.
ICT Fair Value Gap Indicator for MT4
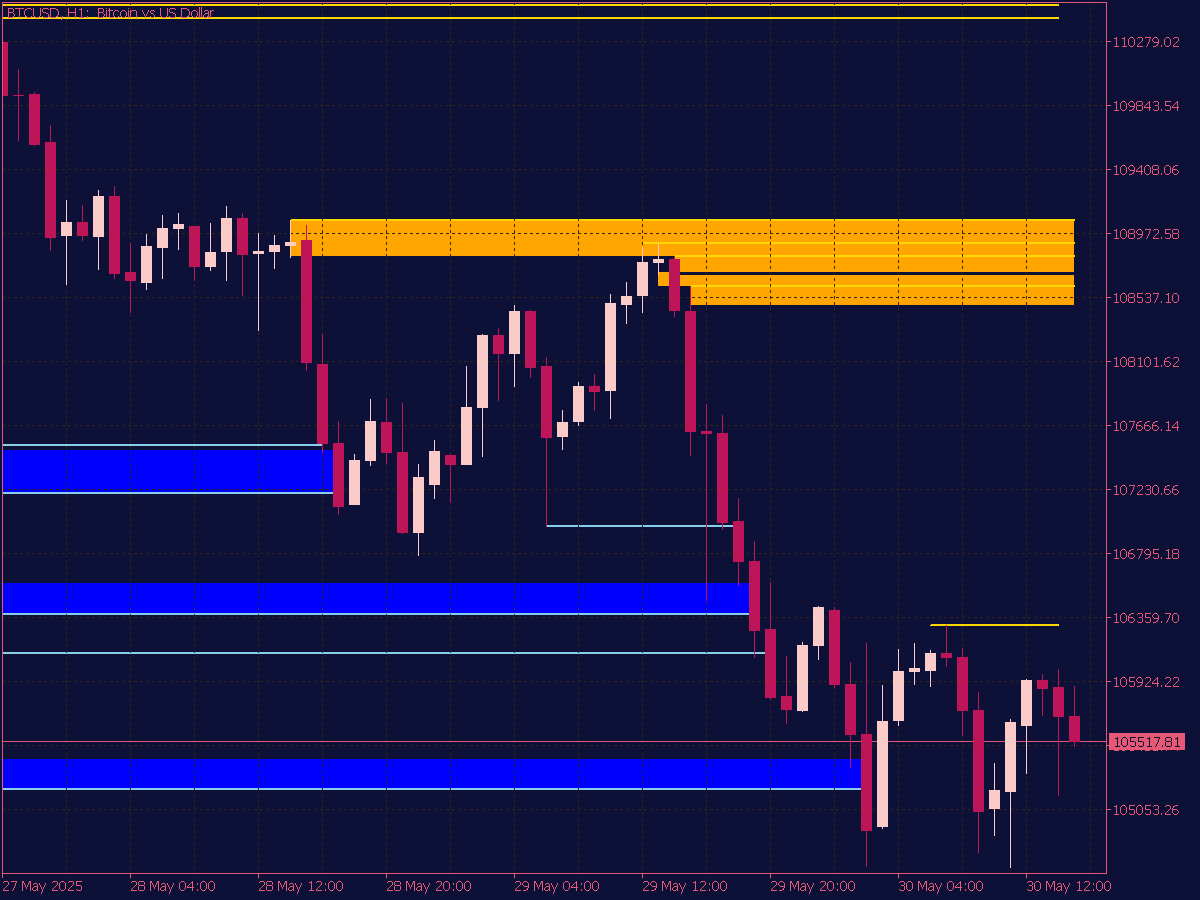
🏆 Trade Like a Champion with the Best Pro Indicators ➜
Fair Value Gaps (FVG) Indicator for MT4
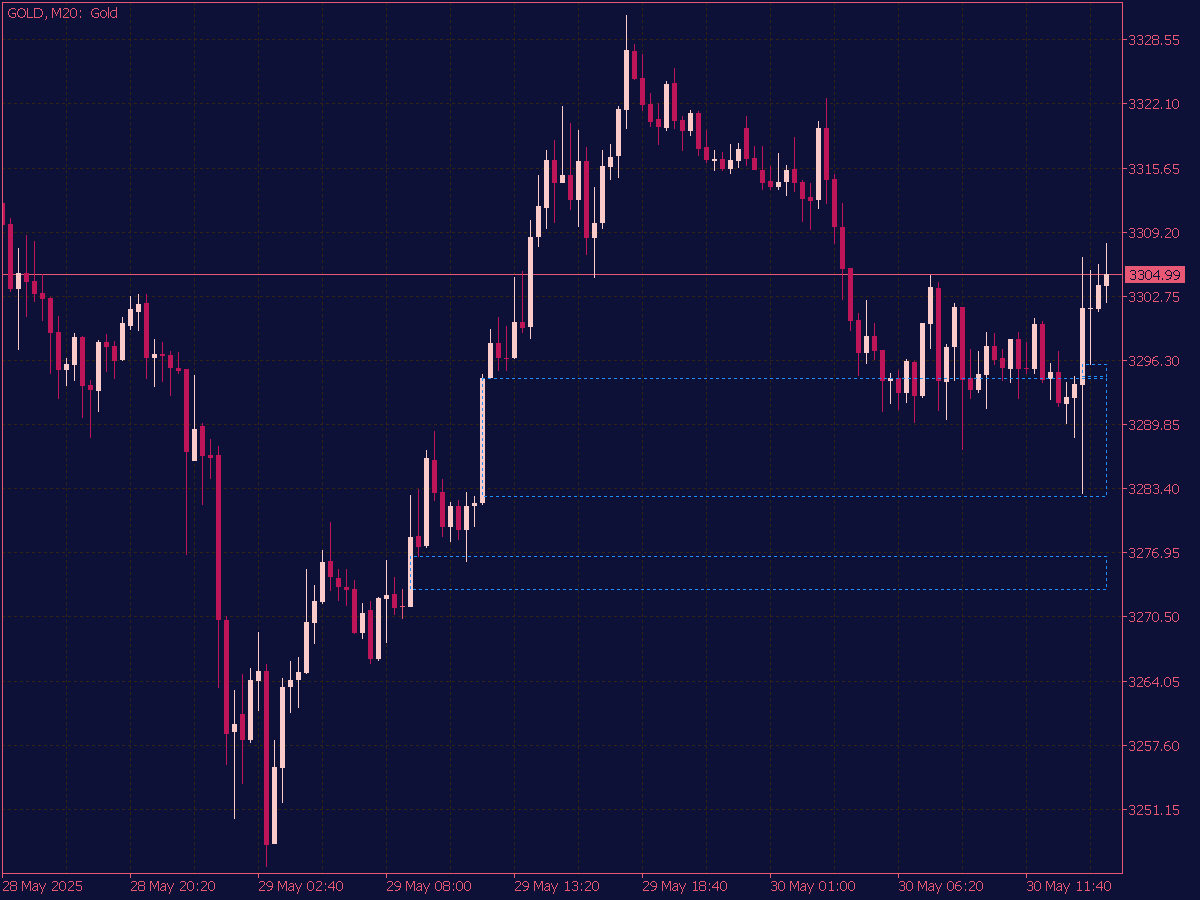
🏆 Trade Like a Champion with the Best Pro Indicators ➜
ICT Fair Value Gap Indicator for MT5
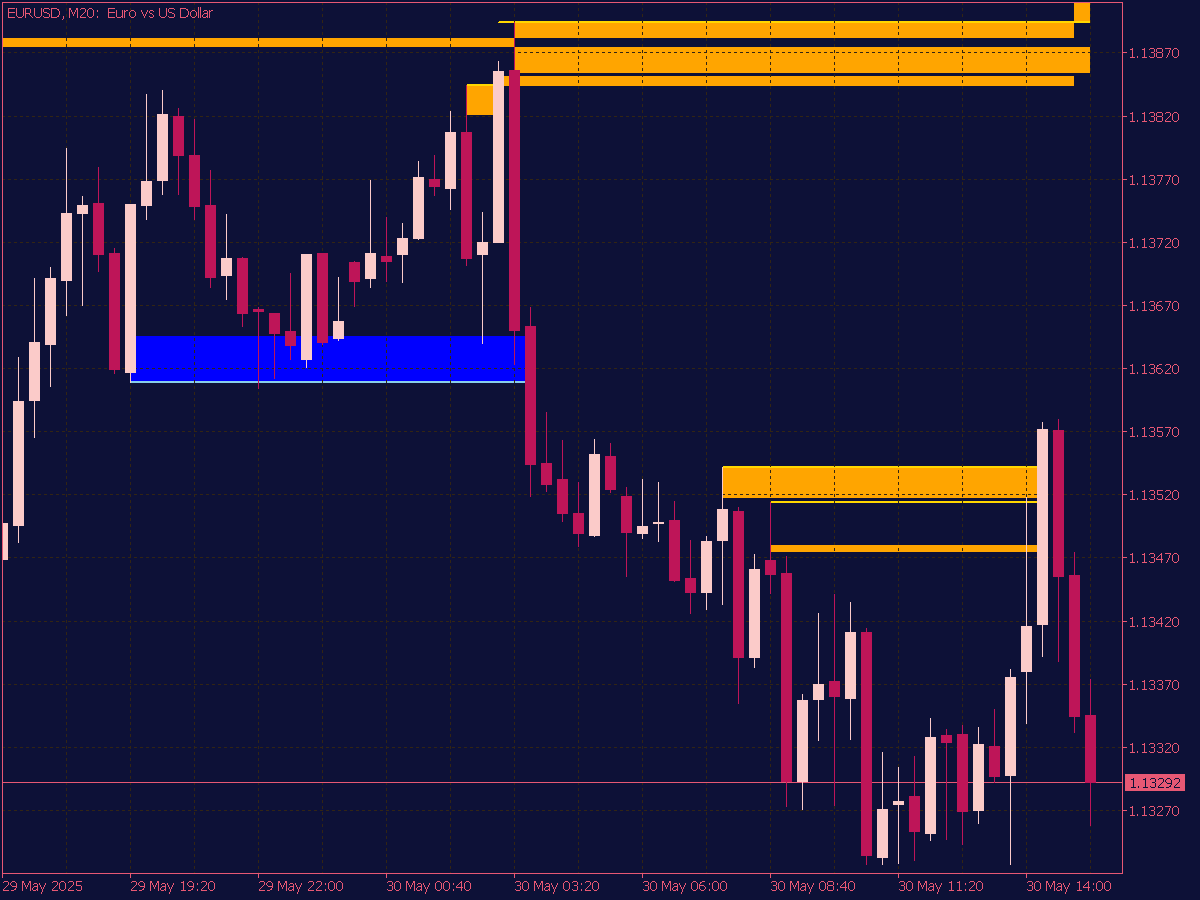
🏆 Trade Like a Champion with the Best Pro Indicators ➜
Fair Value Gaps (FVG) Indicator for MT5
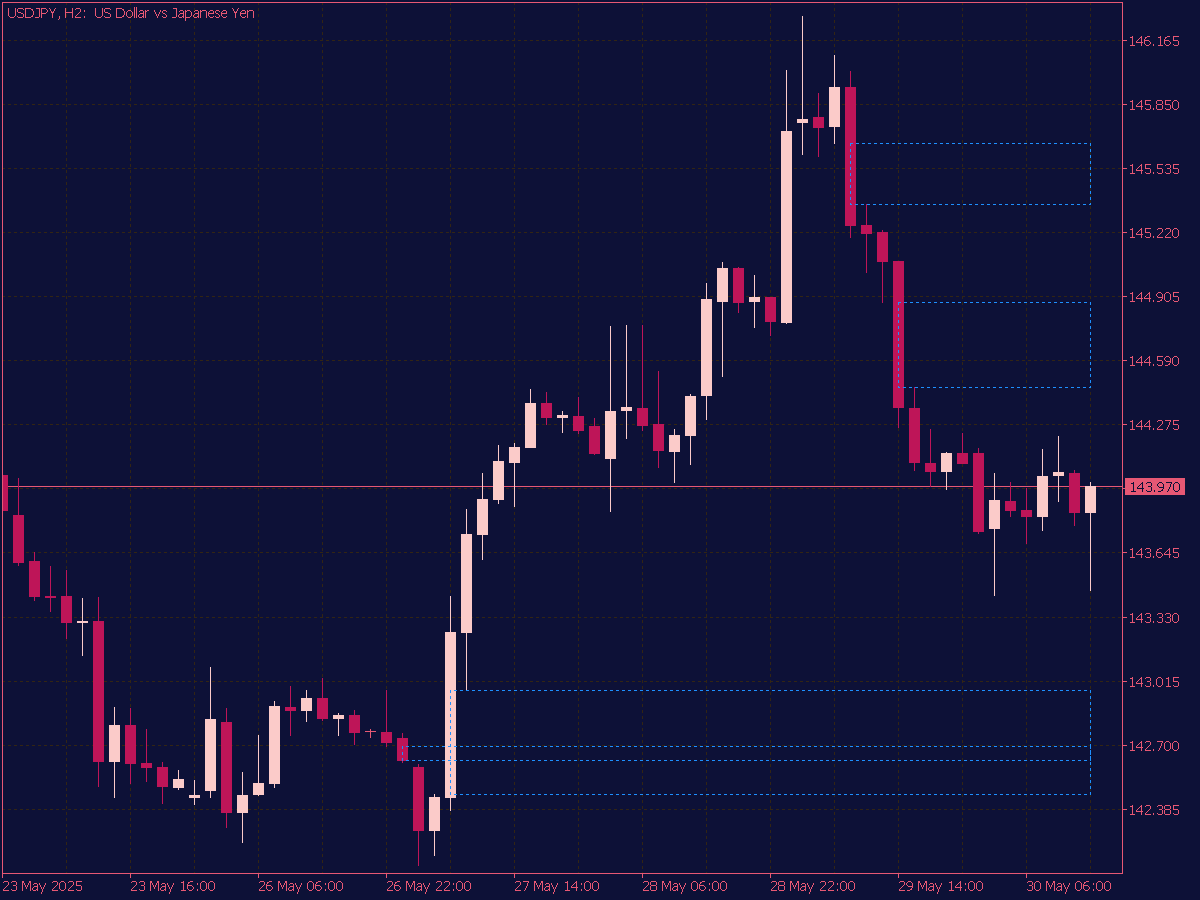
🏆 Trade Like a Champion with the Best Pro Indicators ➜
Trading Strategies
A Fair Value Gap (FVG) typically appears in a 3-candle formation:
Bullish FVG
- When the low of Candle 3 is higher than the high of Candle 1.
Bearish FVG
- When the high of Candle 3 is lower than the low of Candle 1.
This forms a price “gap” between Candle 1 and Candle 3 that was skipped by the market.
Valid FVG Conditions
- Occurs during strong impulse moves (typically after a large bullish or bearish candle).
- No significant wicks fill the gap immediately (no liquidity taken from that area yet).
- Better if supported by volume spikes or news catalysts.
Entry Strategy
Bullish Fair Value Gap (Buy Setup)
- Wait for price to retrace into the FVG zone (the gap between the high of Candle 1 and the low of Candle 3).
- Enter a long position when:
- Price shows bullish rejection inside the FVG (e.g., bullish engulfing, pin bar).
- There’s a liquidity sweep or inducement just before the FVG touch.
Bearish Fair Value Gap (Sell Setup)
- Wait for price to retrace into the bearish FVG zone.
- Enter a short position when:
- Price shows bearish rejection inside the FVG.
- There’s a liquidity grab before the FVG is tapped.
Stop Loss and Take Profit
Stop Loss
- Place above/below the FVG zone or the recent swing high/low (structure-based).
Take Profit
- First TP at recent market structure levels.
- Second TP at internal liquidity zones or opposing FVGs.
- Consider partial profits at 1:1 or 2:1 RR (risk-reward).
Confirmation Tools (Optional but Useful)
Market Structure
- Use FVGs in alignment with higher timeframe trend.
Order Blocks
- FVGs near order blocks are stronger.
Liquidity Zones
- Look for inducement/liquidity grabs before FVG fills.
Volume Profile
- FVGs near low-volume areas are more likely to be respected.
Avoid FVG Trades When
- The FVG is already partially filled.
- It forms in a choppy or ranging market.
- The gap occurs on low volume or during off-session hours.
- Price is far extended from equilibrium or the higher timeframe mean (e.g., 50 EMA or VWAP).
FVG Trading Setup (Bullish Example)
Entry Criteria
- Identify a bullish FVG (formed after an impulsive bullish move).
- Wait for price to retrace into the FVG zone (usually between the open and close of the second candle).
- Look for confluence:
- Previous support/resistance
- Order block in the same area
- Time of day (e.g., NY or London session)
Entry
- Long entry at or near the bottom of the FVG.
- Optional: use a lower timeframe confirmation (e.g., break of market structure or bullish engulfing candle inside FVG).
Stop Loss
- Below the FVG or the swing low before the impulsive move.
Take Profit
- First TP: recent swing high or internal liquidity.
- Second TP: external liquidity (above major highs).
- Use risk-to-reward ratios like 2:1 or 3:1.
Bearish FVG Setup
The same rules apply in reverse:
- Identify bearish FVG.
- Wait for price to retrace into the FVG.
- Short entry from the top of the FVG.
- SL above FVG or swing high.
- TP at recent swing lows or liquidity pools.
My Tips for Trading FVGs
- Best on 1H, 4H, or daily charts.
- Combine with market structure and liquidity concepts.
- Higher probability during high-volume sessions (e.g., NY open).
- Use multiple time frame analysis for confirmation.
📌 More Great Indicators and Trading Systems for MT4 or MT5
- Top-Rated MetaTrader Indicators

- Color Fill Tenkan Kijun Indicator
- Market Structure Low High Indicator
- High Low Indicator
- T3 High-Low Activator MTF
- High Low Next Activator Indicator
- I-High Low Indicator
- Liquidity Zones Indicators with…

- Buy Low Sell High Indicator
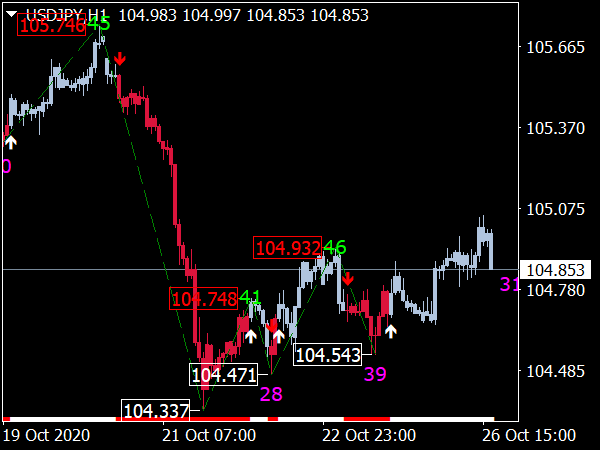
- Market Structure Low Indicator
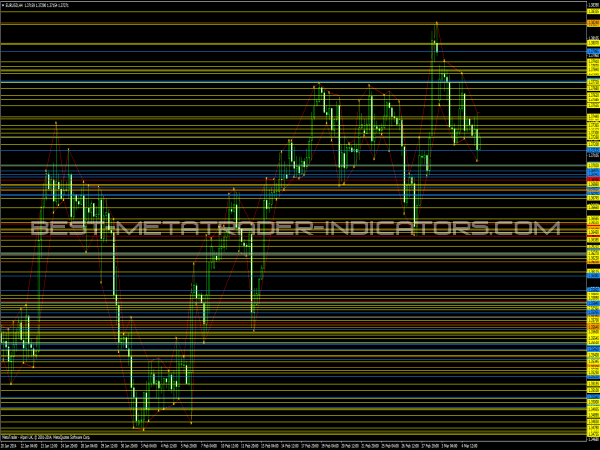
- Gann High Low Activator Heiken Ashi
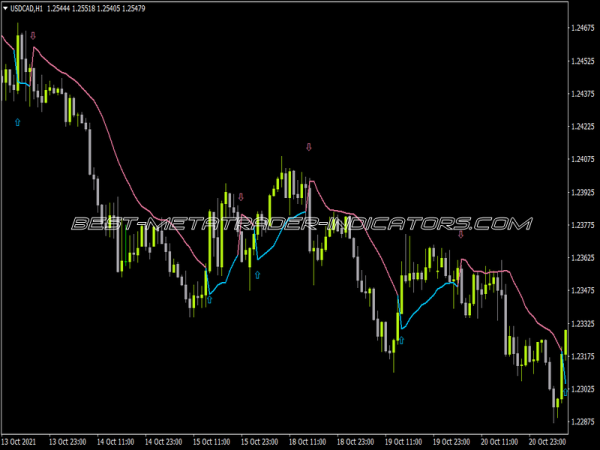
- High Low Zigzag Indicator
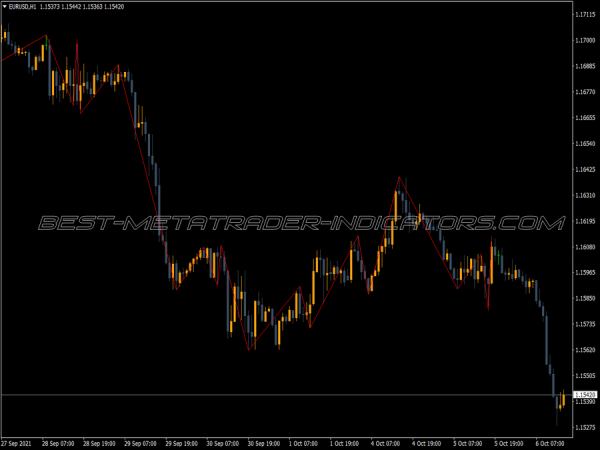
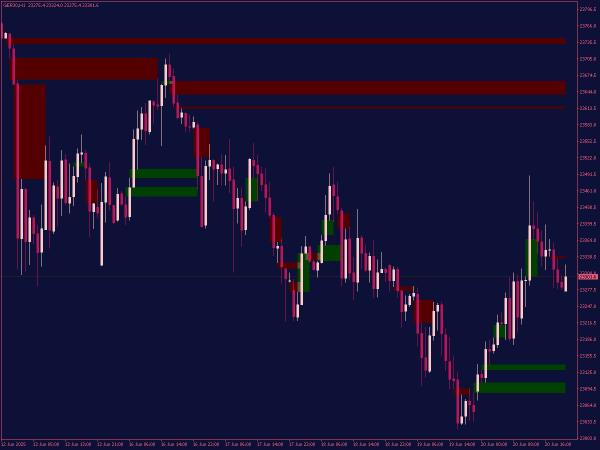
- Fair Value Gaps Indicator
- Spead High Low Indicator
- 4 Time Frame Gann High Low…
- Xmaster Formula Indicators with…

- ICT Asian Range Indicator
- High/Low Channel Indicator
- I-High Low Middle Indicator
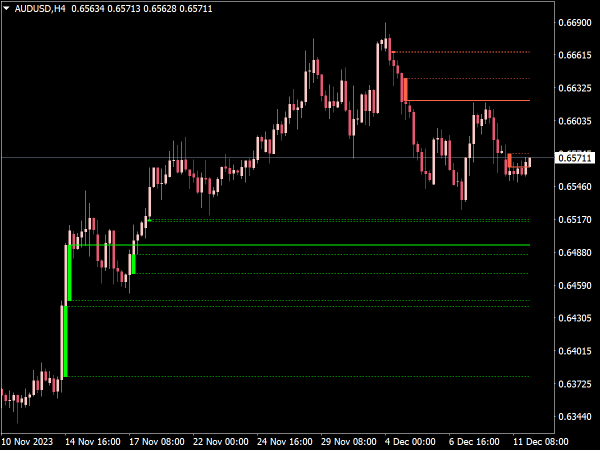
- Fair Value Gap Indicator (FVG)
- Smart Market Structure Concepts…
- Highly Accurate Indicators for MT4 & MT5