A Liquidity Zones Indicator is a technical analysis tool used in trading to highlight areas on a price chart where a significant number of buy or sell orders are likely to be clustered. These zones are typically areas where price previously reacted strongly (either reversing or consolidating) due to high trading volume and institutional interest. Liquidity zones often align with support and resistance levels, supply and demand zones, or order blocks.
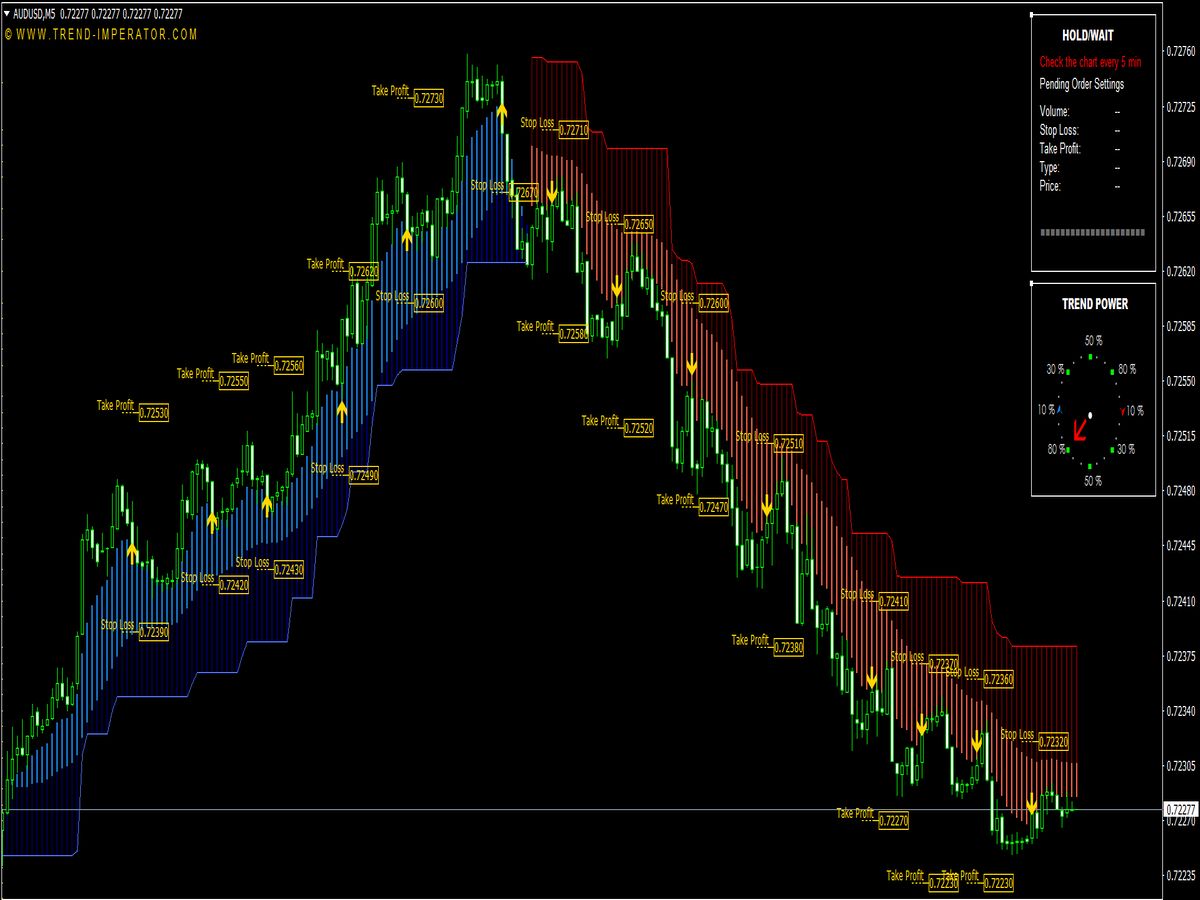
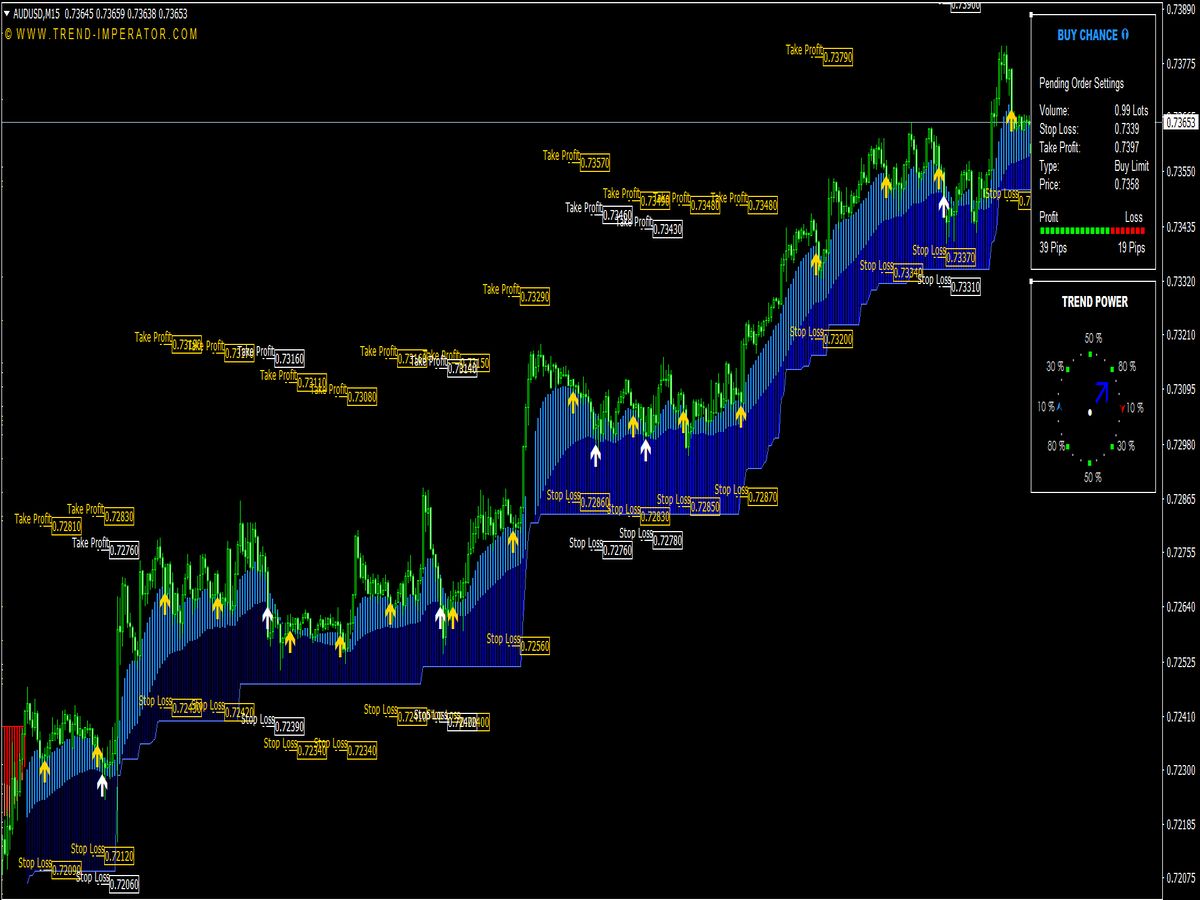
Liquidity Zones Indicator with Alerts and Arrows for MT4
Trading Strategies
Here are several trading strategies based on concepts used by professional traders and Smart Money frameworks like ICT (Inner Circle Trader), SMC (Smart Money Concepts), and Wyckoff Theory. Liquidity zones are price areas where a high volume of stop-losses or pending orders are likely clustered — often just above swing highs or below swing lows.
1. Liquidity Grab (Stop Hunt) Reversal Strategy
Institutions push price into obvious liquidity zones (above swing highs or below swing lows), triggering stops, filling orders, and then reversing price direction.
- Setup:
- Identify recent swing high or swing low.
- Wait for a liquidity grab (price spikes beyond the swing).
- Look for a reversal candle (e.g. pin bar, engulfing).
- Enter against the breakout (mean reversion).
- Entry:
- After price returns back inside the range.
- Stop-loss:
- Beyond the liquidity wick.
- Target:
- Mid-range or opposite liquidity zone.
Best used with confirmation tools like volume spikes, divergence, or order flow.
2. Break and Retest of Liquidity Zone
After price breaks a key liquidity zone, it retests the area as new support/resistance.
- Setup:
- Identify a liquidity zone (e.g. previous high).
- Wait for a clean break above/below the zone.
- Enter on the retest of the zone (flip from resistance to support or vice versa).
- Entry:
- On bullish/bearish candle at retest.
- Stop-loss:
- Below/above the zone.
- Target:
- Next liquidity zone or measured move.
Can be combined with trend-following tools or FVG (Fair Value Gap) confirmation.
3. Range Accumulation and Liquidity Sweep
Price consolidates in a range, builds liquidity on both sides, and then performs a false breakout before true direction.
- Setup:
- Identify a range-bound market.
- Mark equal highs and lows (liquidity traps).
- Wait for a false breakout of one side.
- Enter after a rejection back into the range.
- Entry:
- After rejection or candle close inside range.
- Stop-loss:
- Outside the fake breakout wick.
- Target:
- Opposite side of the range or trend continuation.
Use Wyckoff concepts like Spring/Upthrust for more precision.
4. Trend Continuation Using Liquidity Zones
In a trending market, price pulls back to a liquidity zone (e.g. prior high/low or OB) and continues in the direction of the trend.
- Setup:
- Identify overall market structure (HHs & HLs).
- Wait for price to pull into a liquidity zone in the direction of trend.
- Use entry confirmation (engulfing candle, order block).
- Entry:
- On confirmation at zone.
- Stop-loss:
- Just beyond the zone.
- Target:
- Previous high/low or Fibonacci extension.
Ideal for higher timeframe confluence and trend-following setups.
5. Liquidity Imbalance-FVG Combo
Combine liquidity zones with price inefficiencies (Fair Value Gaps) to find high-probability reversals.
- Setup:
- Identify liquidity zone above/below market.
- Look for price to sweep liquidity and fill a nearby FVG.
- Wait for confirmation (e.g., displacement or BOS – Break of Structure).
- Entry:
- After price reacts from FVG/liquidity area.
- Stop-loss:
- Beyond the FVG or liquidity wick.
- Target:
- Market structure target or opposite FVG.
Advanced strategy, suitable for ICT/SMC traders.
Liquidity Zones Pros
- Highlights Key Price Levels:
- Identifies areas where buy/sell orders cluster, helping anticipate potential support, resistance, or reversal points.
- Improves Trade Entry and Exit:
- Helps traders place entries, stops, and targets more strategically.
- Aligns with Institutional Activity:
- Reflects zones where smart money and big players accumulate or distribute positions.
- Works Well with Price Action:
- Can be combined with market structure, order blocks, and candlestick patterns for more reliable signals.
- Adaptable Across Timeframes:
- Useful for scalpers, day traders, and swing traders.
- Visual and Intuitive:
- Provides clear zones on charts, making it easier to read market sentiment.
Cons
- Not Always Reliable:
- Price can break through liquidity zones, especially in trending markets or during news events.
- Subjective Identification:
- Manually drawing zones can vary between traders; automated tools may also misidentify zones.
- False Signals:
- Can produce whipsaws or fakeouts, triggering premature stop losses.
- Requires Confirmation:
- Shouldn’t be used alone; needs to be combined with other indicators or analysis methods.
- Less Effective in Volatile Markets:
- High volatility or low liquidity conditions can reduce zone reliability.
- Risk of Overtrading:
- Multiple zones across timeframes can cause confusion and excessive trading.
- Dependence on Indicator Quality:
- Poorly coded or designed indicators can clutter charts or give misleading signals.
Final Words
Liquidity zones are a powerful concept but should be used as part of a broader trading strategy with proper risk management and multiple confirmations. Blind reliance can lead to losses or frustration.
🎁 Great Indicators with Free Download for MT4 or MT5
- Best-Rated MetaTrader Indicators

- Channel System with Support and…

- Fractals Support Resistance Indicator

- Volume Swings & Support…

- Support Resistance Levels

- Dynamic Trend Support…

- Auto Trend Support Resistance…

- Support and Resistance MTF Indicator

- Daily Support and Resistance Special

- Support Resistance Line Indicator

- Support and Resistance (Multi…
")
- Support Resistance Trading System

- KG Support and Resistance Indicator

- SS Support Resistance V04C NMC

- Support and Resistance Levels Indicator

- Support and Resistance Radar V5

- Fractal Support and Resistance…

- WPR Support Resistance

- Support and Resistance

- Fractals Support/Resistance MTF…

- Support and Resistance Button

- Highly Accurate Indicators for MT4 and MT5